I am sure some of you are familiar with working with XAMPP especially if you have worked with PHP and MySQL before. Having been a XAMPP user myself, making a move to WAPP wasn't so hard. There were however a few workoarounds that I had to lookup and figure out to come up with a successfull PHP and PostgreSQL development environment setup for a project I am working on.
I figured I would write a manual for myself in case I need to get WAPP installed again in the future. It has been sometime I had written a tutorial anyway. So here goes a tutorial for installing PHP and PostgreSQL and getting it to integrate with Live Server.
I found Bitnami's WAPP stack to be the perfect bundle to get a development environment up and running with PHP, PostgreSQL and Apache. If you have worked with XAMPP before, WAPP's installation procedure should be easy for you to follow.
[Note: This tutorial assumes you already have PostgreSQL installed with a user account and password.]
Contents:
- WAPP Installation
- Testing the Servers
- Hosting Files in Localhost
- Live Reloading with Live Server
- Extra Bits
1. WAPP Installation
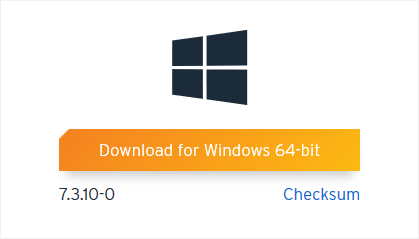
Download the installer from here.
Run the installer wizard once the download has finished.
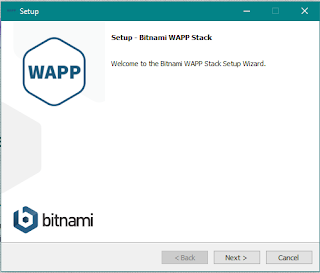
Click 'Next'.
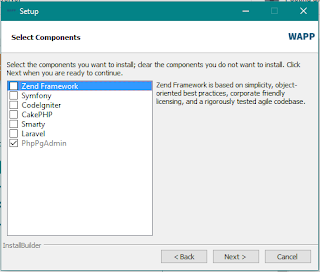
Select any framework you might be working with or leave everything unchecked. Click 'Next'.
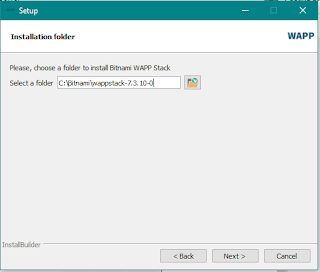
Select your installation directory or proceed with the default directory. Click 'Next'.
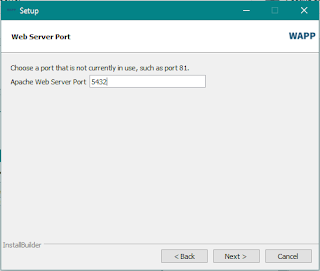
Next, set the server port number or proceed with the default port number. Click 'Next'.
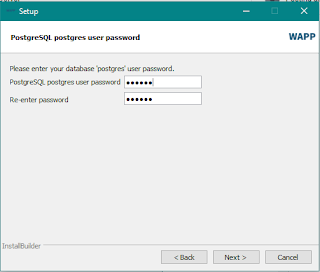
Now, you will be prompted to connect to your existing user account for PostgreSQL. Enter the password of the superuser account 'postgres' that you have set during PostgreSQL installation.
[If you haven't set up a user account, you can follow a tutorial here to find out how.]
Click 'Next' and complete the installation.
2. Testing the Servers
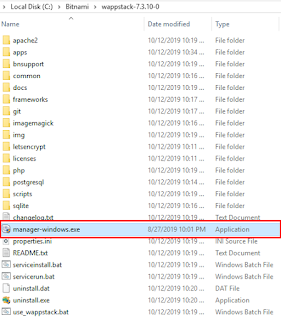
Navigate to your installation directory and locate the 'manager-windows.exe' file and run it.
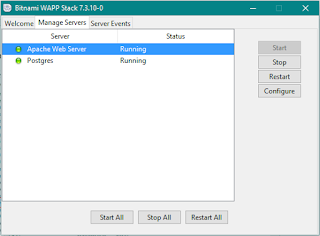
Click on 'Manage Servers' and two servers, the Apache and Postgres server. If the servers are not already running, click on 'Start All'. The green light indicates that the servers are running.
To test, enter 'localhost' on your browser and you will see the following welcome page.

Now enter 'localhost/phppgadmin/' your browser and login to set up any database if you like.

3. Hosting Files in Localhost
To preview your project output in localhost, you will have to follow the steps as stated in the 'README.txt' file in the 'docs' folder of your installation directory.
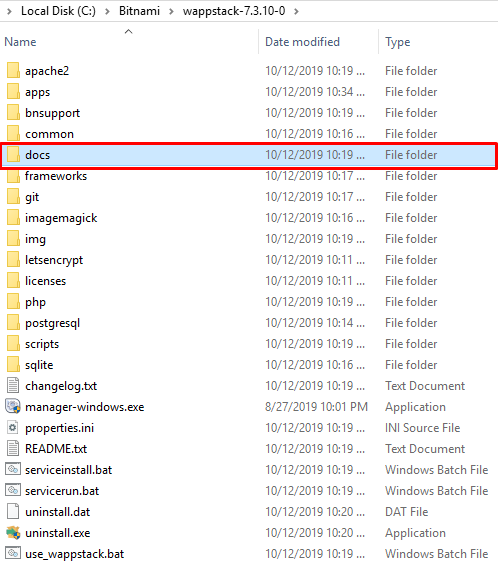

..copy the "demo" folder into the C:/Bitnami/wappstack-7.3.10-0/apps folder and add the following line at the end of the C:/Bitnami/wappstack-7.3.10-0/apache2/conf/bitnami/bitnami-apps-prefix.conf
Include "C:/Bitnami/wappstack-7.3.10-0/apps/demo/conf/httpd-prefix.conf"
Then restart the Apache server. You can use the graphical Manager tool that you can find in your installation directory."
Once you have followed these steps, you will now be able to view the following page when you navigate to 'localhost/demo'.

The preview above is generated from the 'index.php' file from 'apps > demo > htdocs'. Go ahead and open the file in your code editor (I will be using Visual Studio Code). Let's change 'world' to 'earthlings'. Press F5 to refresh the page to see changes.

4. Live Reloading with Live Server
It's tedious to keep pressing F5 each time a change is made. Here's where Live Server will make your life a lot easier by allowing what's known as live reload. This means that the page will automatically refresh each time you have made edits to your source code.
Live Server is available as an extension for Visual Studio Code. There are also Live Server extensions for Chrome and Firefox to enable live preview and live reloading of non-html files such as PHP files.
Reload VS Code. While still on 'index.php', click on 'Go Live' at the bottom-right of the editor or right-click to open the command palette and click on 'Live Server'.
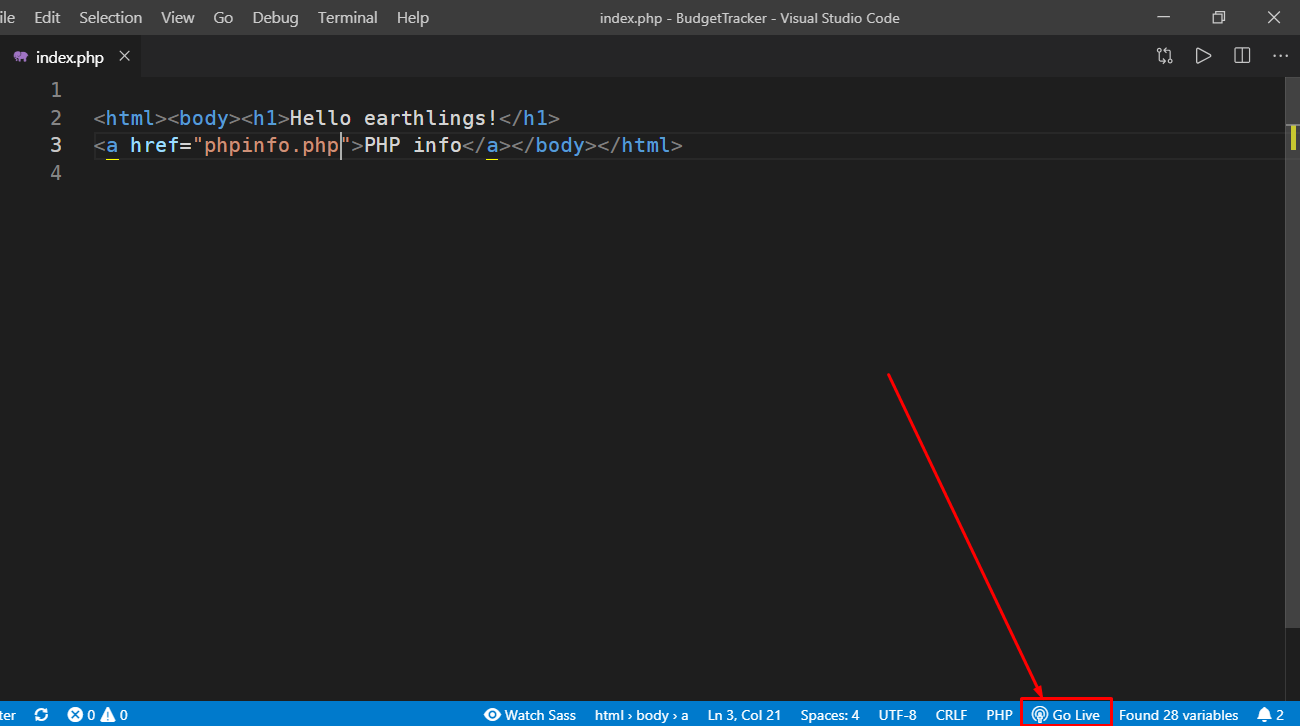
Now you will be redirected to 'http://127.0.0.1:5500/'. This address may vary depending on your port settings.

Copy the address above and open the Live Server browser extension.
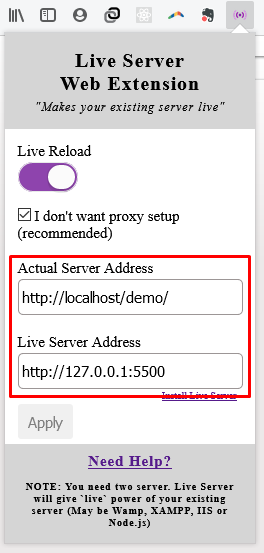
Paste the address that you have copied into the 'Live Server Address' field. As for the 'Actual Server Address' field, enter 'http://localhost/demo'.
Now in 'localhost/demo', refresh the page and go back to VS Code to make a change in 'index.php'. I'll be adding 'there' after 'Hello'. Switch to your browser tab and without having have to press F5, the changes are automatically loaded to the live preview.

And that's it! You have a PHP + PostgreSQL project environment all up and running with Live Server. Go forth and create something!
5. Extra Bits
The demo above uses a very simple 'index.php' file. Often a time you will find yourself creating a project folder inside 'demo > htdocs' to store your project files. To live preview this project in your localhost, you simply need to add your project folder name in the url, i.e: 'localhost/demo/yourProjectFolderName'. Repeat step 4 with the new url.
If your project folder is big, you might run into a problem of loading changes to the live preview. To fix this, simply navigate to the 'php' folder in your installation directory and locate the 'php.ini' file and Ctrl + F to search for 'opcache.revalidate_freq'. Set this value to 0 and save the file. Restart the servers and reload the pages in the browser. Make a change in the code again and you should be able to see the live reload working normally now.